
DIY Corner Bedroom Closet with Shelves – Budget-Friendly Storage Hack
Difficulty: Beginner – Intermediate
Project Type: DIY Bedroom Closet
Perfect For: Small bedrooms, kids’ closets, maximizing corner space, custom storage
🛠️ Maximize Your Closet Space with a Custom Corner Closet Build
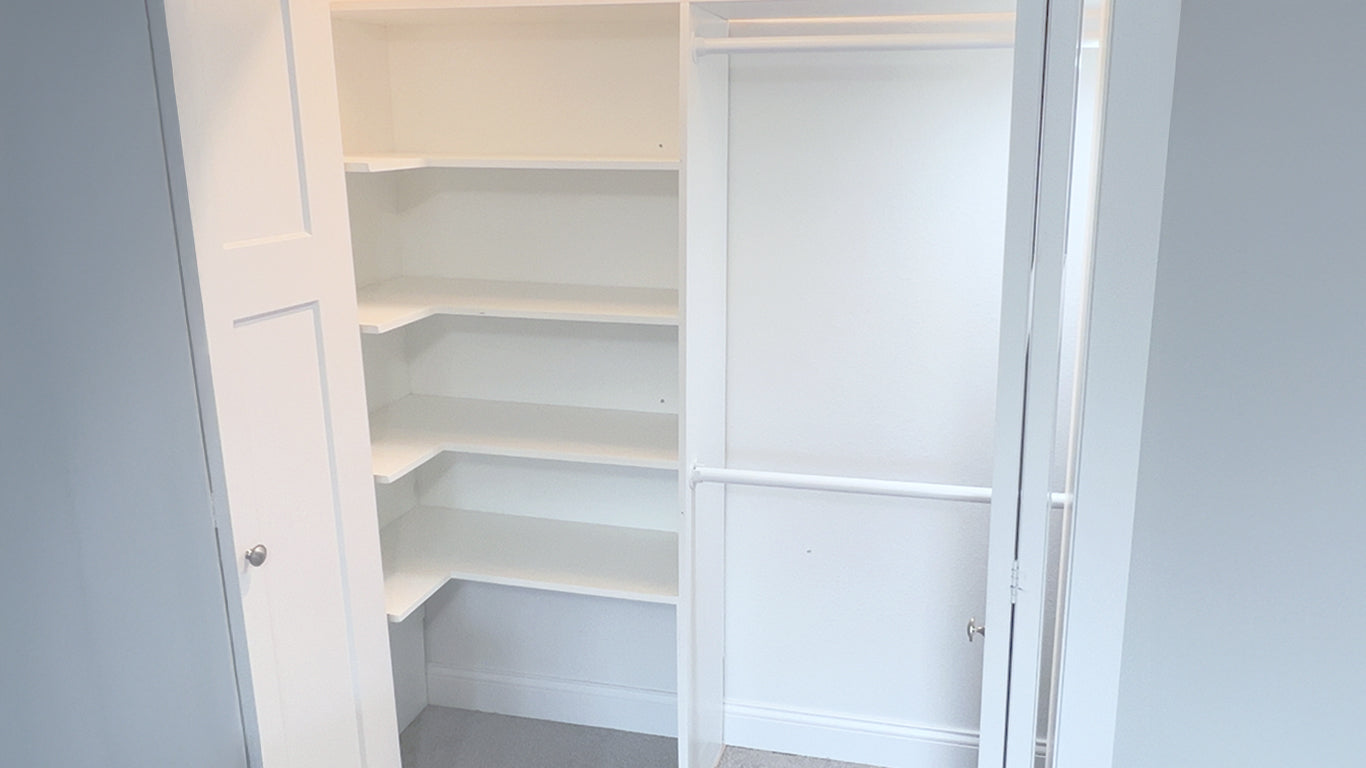
Looking to upgrade your bedroom closet without breaking the bank? This DIY corner bedroom closet cost under $200 in materials and is a fantastic woodworking project for beginners and intermediate DIYers alike. Designed to fit a standard reach-in closet (2ft deep x 8ft wide), this project makes the most of awkward corner space and gives you a custom storage solution you can’t find in stores.
Whether you're storing clothes, toys, or linens, this closet system with built-in shelves and rods will keep everything organized and accessible.
📐 Why I Built My Own Closet Plans
After weeks of searching Pinterest and Google for corner closet woodworking plans, I couldn’t find anything that fit my needs—everything was wire shelving or overcomplicated. So, I created my own simple, stylish, and budget-friendly corner closet design that you can now download and build at home.
➡️ [Download the FREE Closet Plans Here]
✅ Key Features:
-
Designed for standard 2' x 8' bedroom closets
-
Cost under $200 in materials
-
Custom corner layout to maximize space
-
Painted for a clean, modern finish
-
Easy to build with common tools
-
Great for kids’ rooms or guest bedrooms
📋 Materials List
-
¾" Birch Plywood Sheet (4×8) → Home Depot
-
¼" Sandeply Plywood Sheet (4×8) → Home Depot
-
Titebond Wood Glue → Amazon
-
1¼" Screws, Brad Nails, Wood Putty, Paint – Full list [above]
🧰 Tools You’ll Need
-
Miter Saw
-
Table Saw or Track Saw
-
Drill & Pocket Hole Jig
-
Clamps, Sander, Router, Level
-
Nail Gun (Optional)
-
HVLP Paint Sprayer (Optional)
[Full Tool Links Included in Blog Post]
🪚 Step-by-Step Instructions
Step 1: Watch the Video
Check out the full build process to see how everything comes together.
Step 2: Cut Your Plywood
If you don’t have a large table saw, use a track saw with foam insulation as a cutting surface. Tools like the Kreg Adaptive Cutting System or DeWalt Track Saw make it easy.
Step 3: Paint the Panels
Pre-paint your plywood before assembly. It saves time and ensures cleaner results.
Step 4: Assemble the Closet
Use pocket holes, wood glue, and clamps to build each section. Make sure everything is square using clamping squares and a framing square.
Step 5: Install Shelves and Hardware
Add hanging rods, shelf brackets, and closet pole sockets. Customize your layout for short or long hanging sections based on your needs.
🎨 Design Tips
-
Use white urethane paint for a bright, clean finish
-
Adjust shelf height based on your items (use our included shelf height guide)
-
Add drawer inserts or storage bins for extra functionality
🏁 Final Thoughts
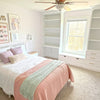
This custom corner closet completely transformed my son's room. It's functional, stylish, and makes the most of every inch of space. If you’ve been struggling to find the right storage solution, this is a budget-friendly DIY closet project you can build in a weekend.
Have questions? Drop them in the comments or find me on Instagram, YouTube, or check out my other DIY woodworking plans.
📌 SHARE THIS PROJECT ON PINTEREST


